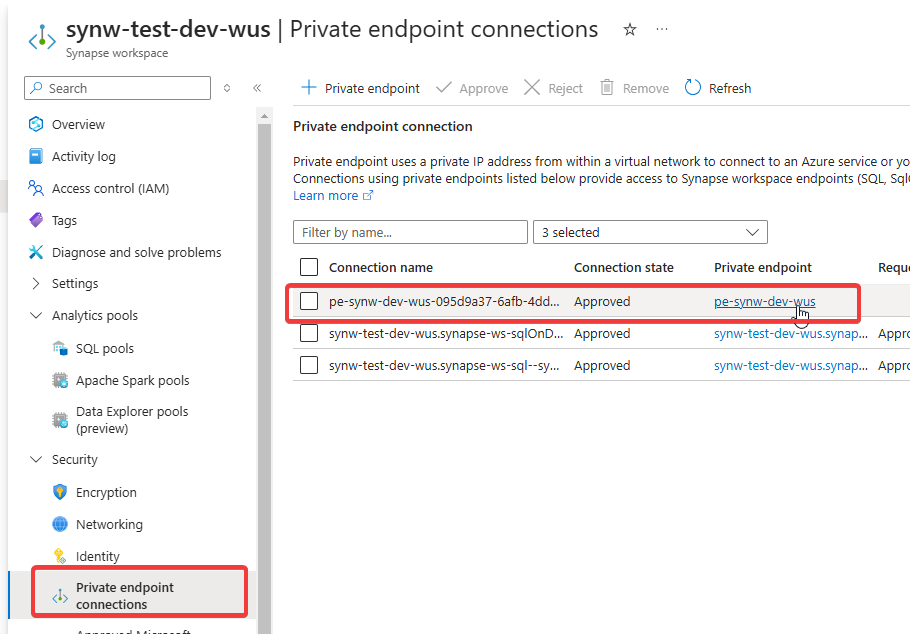
PREREQUISITE: The first thing you should do is navigate to your synapse workspace within the azure portal and check your private endpoints.
You need a private endpoint in either the same virtual network that your SQL Server VM is (if the vm is in azure) or a VNet that is peered with the VNet containing the SQL Server VM, or if it the SQL Server is on-premise, then the private endpoint needs to be in a VNet that is able to connect to the onpremise network via a site-to-site vpn (through a vnet gateway or network virtual appliance) or express route connection.
You also need to ensure that any NSGs on the subnet where the private endpoint is and on the subnet where the SQL Server VM is (again if its in azure) has allow rules allowing communication between the private endpoint and the SQL Server VM.
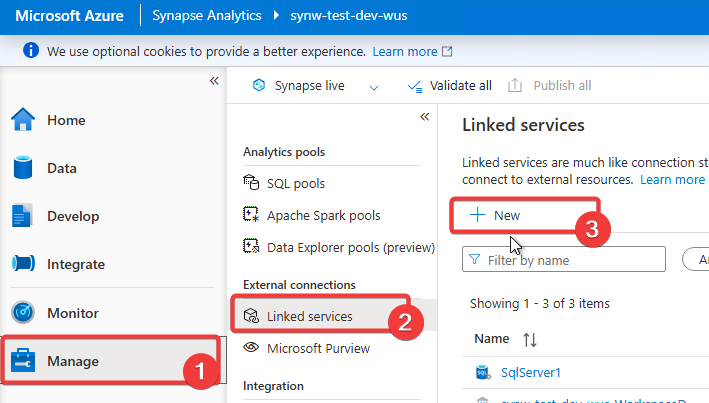
1. From the Synbapse Analytics Workspace, launch the Synapse Studio and then go to Manage > Linked Services > + New
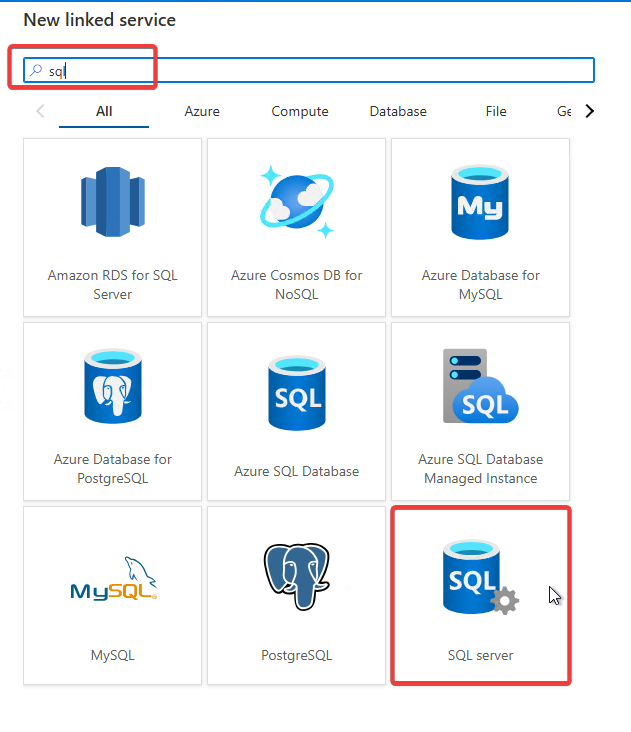
2. Search for ‘sql‘ and select ‘SQL server‘ and then ‘Continue‘
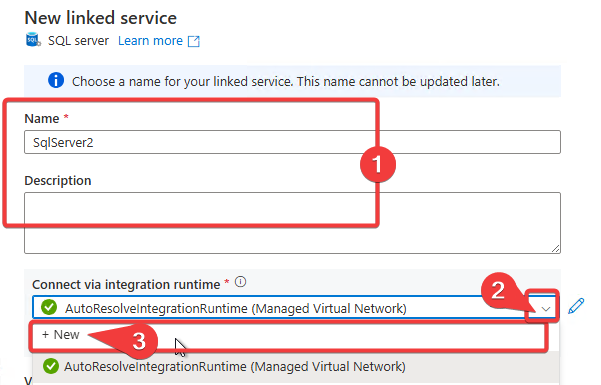
3. Name the linked service appropriately and then select the dropdown for Connect via integration runtime and select + New
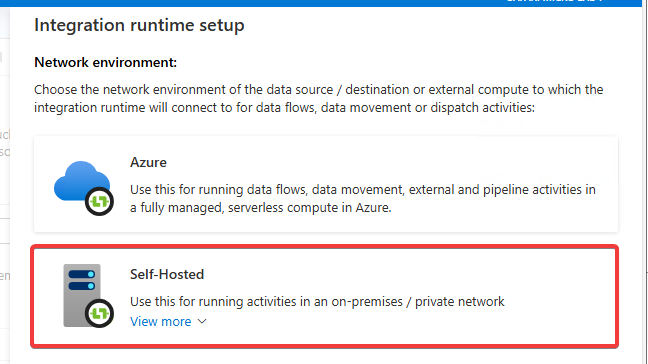
4. Choose Self-Hosted
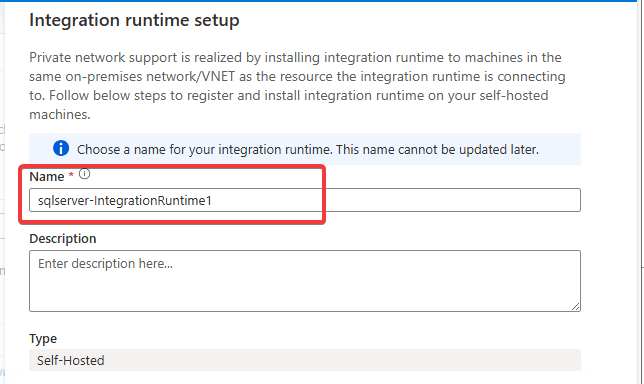
5. Give the self-hosted integration runtime and appropriate name and select “Create“
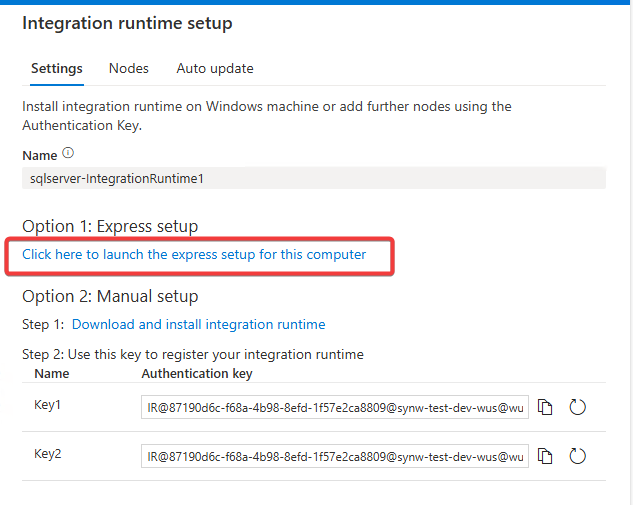
6. Select Click here to launch the express setup for this computer to download the setup wizard. Make sure you are doing this from the SQL server.
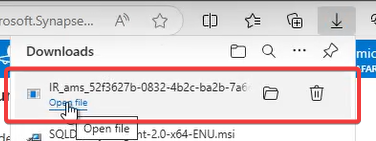
7. Let the Microsoft Integration Runtime Express Setup complete.
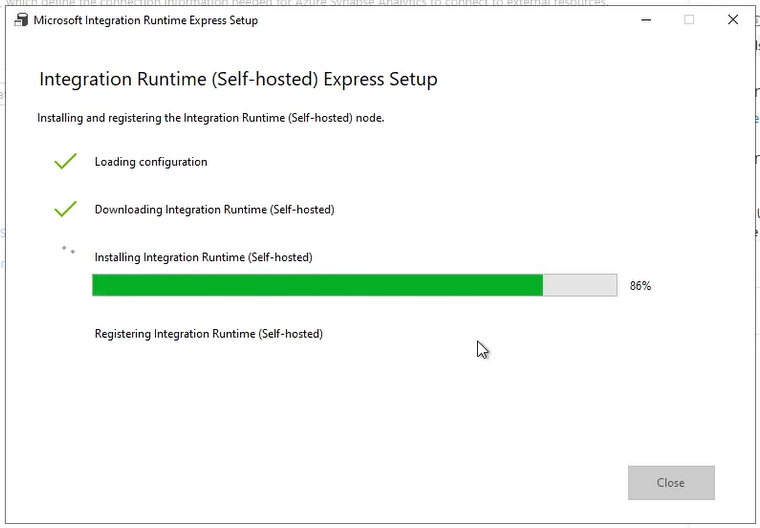
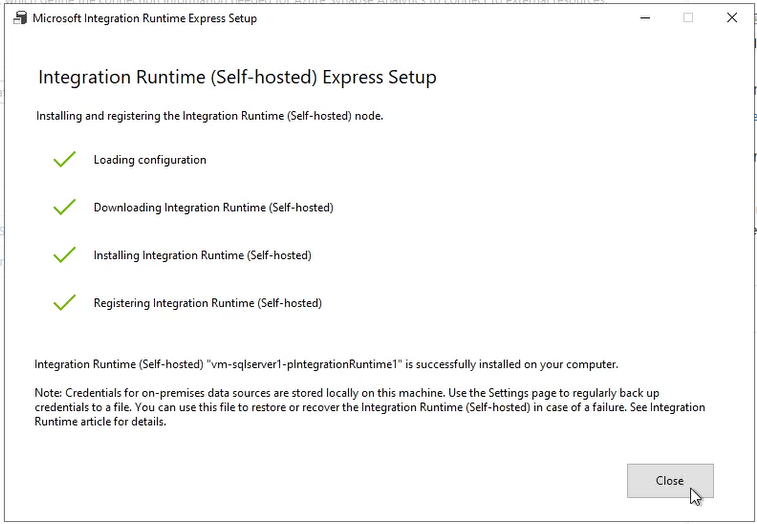
8. Back in the synapse workspace, close the self-hosted integration runtime setup blade, returning to the Edit linked service blade. Ensure your new self-hosted integration runtime is selected under Connect via integration runtime. If you see an error about it being currentily unavailable, wait a moment and select the refresh button next to the error.
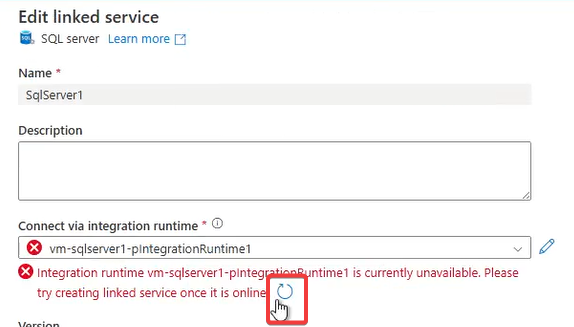
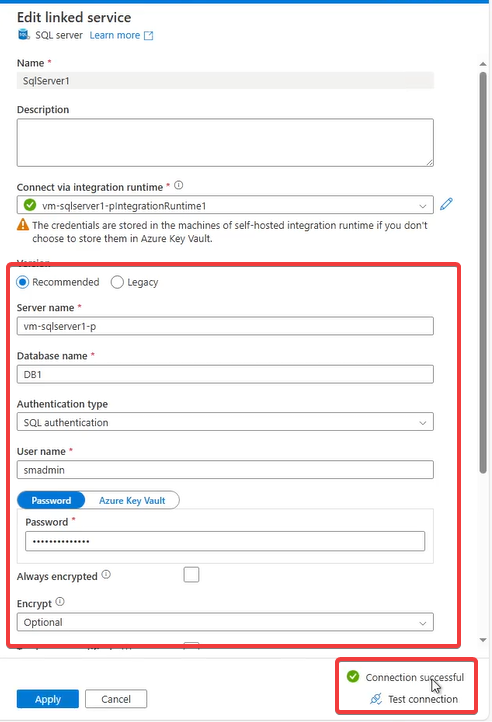
9. You should see a green checkmark next to the integration runtime when successful, enter in the propper connection info for your SQL server, including SQL instance name, database name, the propper authentication type you are using, and the credentials for that account (and appropriate encryption options if necessary), then in the lower right hand corner select ‘Test Connection” – if all is working well, you should see ‘Connection Successful”
